
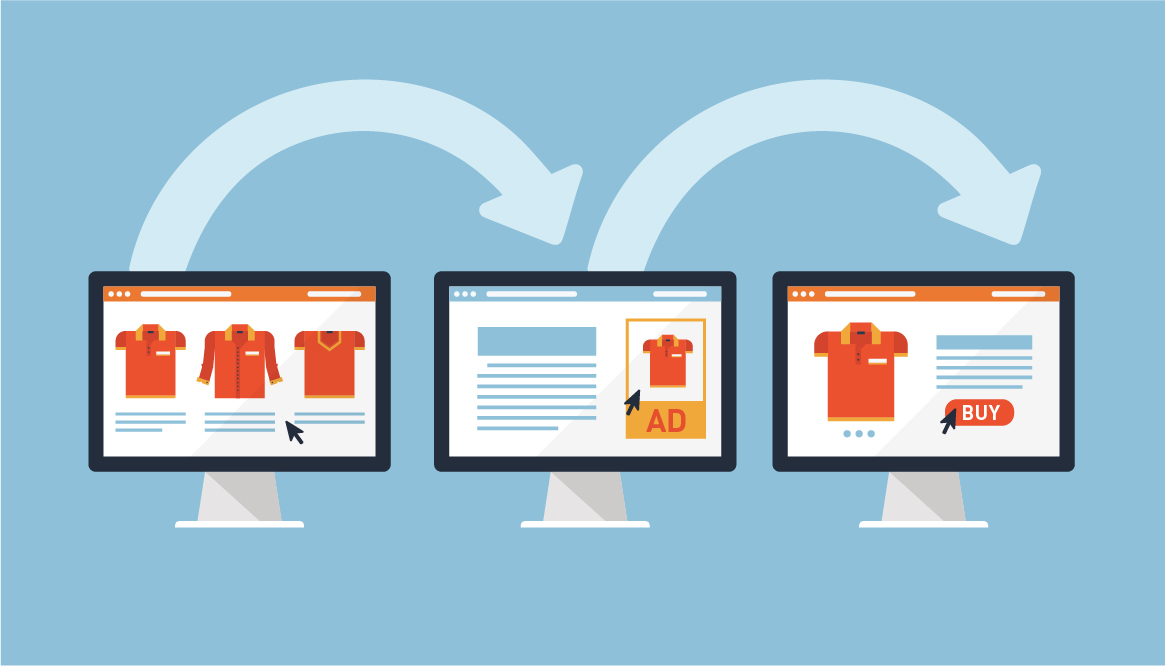
Google re-marketing allows you to target potential customers that you know are already in-market for the products or services.
This is a step-by-step guide to help you do your Google re-marketing.

If you already advertise on Google, all you need to do is add a piece of Google re-marketing code, also known as a tag or pixel, to your website so that visitors can get added to your re-marketing audiences through browser cookies. You can customise the code for different pages to correspond to more defined categories.
For example, let's say you operate an e-commerce business that sells kitchen supplies. You might create a “toaster” re-marketing audience based on people who visit the pages of your site where you sell toasters. That way, you can show these specific visitors highly targeted display ads that market your toasters. You already know they are in-market for toasters, and now you can draw them back, perhaps with a special offer like "free shipping."
Using re-marketing, you can show Google ads to your previous site visitors while they browse the vast number of Google partner sites in the Google Display Network.
Google recommends that when you are starting your first re-marketing campaign, you begin by targeting everyone who viewed your homepage. Just remember, that will increase your Google re-marketing costs since your ads are being re-targeted to more individuals, and you won’t be able to create ads that are quite as targeted. By targeting more narrowly, you can therefore increase ad relevancy and lower your cost per click.
Eventually, you can create different Google re-marketing lists for super-targeted re-marketing campaigns; for example, you can choose to show users who have already purchased from your site different ads from non-buyers (such as an offer for 30% off your second purchase).
As a "beginner" to Google remarketing you want to keep it simple, you can later optimise and extend your re-marketing campaigns and strategy by taking more control and making it more dynamic. (There are a couple of tips on Re-marketing Best Practices at the bottom of this page)
How to start your remarketing campaign:
1. Go to your AdWords account
2. Find the wrench icon in the top right corner of the page and select it
3. Under the shared library header, select “audience manager”
4. On the left menu select “Audience Sources”
5. On the AdWords Panel you should see a link that says “Set Up Tag”
6. From the Screen that pops up, select the first option (“Collect standard data available from this data source”) - applicable to most people (except if you are a retail business, then the “collect specific attributes or parameters to personalise ads” might be useful - dynamically optimises the ad to match products the customer viewed on your website or added to their cart) hit save and continue
7. Now you will be given your remarketing Tag and instructions on how to implement it on your website
8. If you’re using Google Tag Manager you will be given your conversion ID for that piece of code, when you’re setting up your Google Tag Manager Code and Container and tag you’ll need to put that conversion ID in there
9. Once you’re done and click continue you will be back on the audience sources page
10. From the left menu choose “Audience Lists”
11. From the previous stage AdWords has created an automatic list based on all website visitors which you will find under “All Visitors (AdWords)” (If you want to set up custom lists based on website URLs you can do that from this screen by selecting the large blue button)
12. Go back to the main user interface and the campaigns section (On the left hand side)
13. select the blue button for “new campaign”
14. Select “display network”
15. You will get options based on the goals of the campaign
16. Select “Website Traffic”
17. Choose “Standard display campaign” as the campaign subtype
18. Add domain
19. Name your campaign
20. Choose the Locations and Language
21. Untick the “Enable Enhanced CPC” in order to have full control on bidding and costing and leave it as “Manual CPC”
22. Enter daily budget, leave the delivery method as standard
23. Go to Additional Settings
24. Change the frequency capping to (for example) four impressions per day per ad group , so you do not over span people
25. Create your AdGroup Name (Audience List)-> All Website Visitors
26. Prompted to choose Audience, jump into Remarketing -> Website Visitors (where you will find your auto-generated list by AdWords)
27. Change the automated targeting setting to “No automated targeting” so you have full control of what you’d like to target
28. Set an AdGroup Bid
29. Create Ad
30. Choose Responsive Ad
31. Add images
32. Add Logo
33. Create the text content
34. “Add to AdGroup”
35. “Create Campaign”
36. On your main screen of the campaigns section, you can see your campaigns listed
BASICALLY: Create Audience List (who your campaign should reach), Set Up Tag, Create Campaign

Set up conversion tracking for your website
Step 1: Create a conversion action
- Sign in to your Google Ads account.
- In the upper right corner, click the tool icon , and under "Measurement", click Conversions.
- Click the plus button .
- Click Website.
- Next to 'Conversion name', enter a name for the conversion that you’d like to track, such as 'newsletter sign-up' or 'wedding bouquet purchase'. This will help you to recognise this conversion action later in conversion reports.
- Next to 'Category', select a description for your conversion action from the drop-down menu. The category allows you to segment your conversions in reports, so that you can see similar conversions together.
- Next to 'Value', select how to track the value of each conversion.
- Use the same value for each conversion. Enter the amount that each conversion is worth to your business.
- Use different values for each conversion. Use this option if, for example, you’re tracking purchases of products with different prices. Later, when you add your conversion tracking tag, you’ll need to customise your tag to track transaction-specific values.
- Don't use a value.
- Next to 'Count', select how to count these conversions.
- One. This setting is best for leads, such as a sign-up form on your website, when only one conversion per ad click probably adds value for your business.
- Every. This setting is best for sales, when every conversion probably adds value for your business.
- Click Conversion window. Select how long you want to track conversions after an ad interaction from the drop-down menu. The window can be from 1 to 90 days. Learn more about conversion windows.
- Click View-through conversion window. Select how long to track view-through conversions from the drop-down. The window can be from 1 to 30 days.
- Click Include in 'Conversions'. This setting – selected by default – lets you decide whether or not to include data for this conversion action in your "Conversions" reporting column. If you untick this setting, data will still be included in the 'All conversions' column. You might want to untick this setting if you use Smart Bidding, and you don't want to include this particular conversion action in your bid strategy. Find out more about the "Include in 'Conversions'" setting.
- Click Create and continue.
You’ll now see a screen that shows that you’ve created your conversion action. Follow the instructions in the next section to set up your tag.

Step 2: Set up your conversion tracking tag
To set up website conversion tracking for the first time, you'll need to add 2 code snippets to your website: the global site tag and the event snippet.
The global site tag adds website visitors to your 'All visitors' remarketing lists (if you've set up remarketing) and sets new cookies on your domain, which will store information about the ad click that brought someone to your site. Note that your Google Ads conversion tracking tag will be able to use this click information to attribute a conversion to your Google Ads campaigns. Please ensure that you're providing users with clear and comprehensive information about data collection, and obtaining consent where legally required.
You must install the global site tag on every page of your website, but you need only one global site tag for each Google Ads account.
The event snippet tracks actions that should be counted as conversions. Install this snippet on site pages you'd like to track conversions for. Each conversion action has its own associated event snippet, whereas the global site tag is the same across all conversion actions within a Google Ads account.
Choose from 2 ways to install your tag
Option 1: Install the tag yourself
1.Under 'Global site tag', select the option that best describes your situation and follow the instructions for installing the tag:
- I haven’t installed the global site tag on my website: Choose this option if it’s your first time setting up the tag for a conversion action in your account and you haven’t installed the global site tag from another Google product. This option shows the full global site tag. To install the tag, copy the tag code and paste it between the <head></head> tags of every page of your website.
Here’s an example of a global site tag, where “AW-CONVERSION_ID” stands for the conversion ID that’s unique to your Google Ads account:
<script async
src='https://www.googletagmanager.com/gtag/js?id=AW-CONVERSION_ID'></script>
<script>
window.dataLayer = window.dataLayer || [];
function gtag(){dataLayer.push(arguments);}
gtag('js', new Date());
gtag('config', 'AW-CONVERSION_ID');
</script>
- I installed the global site tag on my website from another Google product (example: Google Analytics) or from another Google Ads account: If this option applies to you, you won’t need to add the global site tag to your website again; however, for conversion tracking to work for this account, you’ll need to add the config command (the piece of code that contains your conversion ID) to every instance of the global site tag. This option shows that command, where 'AW-CONVERSION_ID' stands for your account’s conversion ID:
gtag('config', 'AW-CONVERSION_ID');
Add the config command to every instance of the global site tag on your website, right above the </script> end tag.
Here’s an example of a global site tag that’s configured for both Google Analytics and Google Ads, with the config command for the Google Ads account highlighted:
<script async
src='https://www.googletagmanager.com/gtag/js?id=GA_TRACKING_ID'>
</script>
<script>
window.dataLayer = window.dataLayer || [ ] ;
function gtag(){dataLayer.push(arguments);}
gtag( 'js', new Date () ) ;
gtag( 'config', 'GA_TRACKING_ID');
gtag( 'config', 'AW-CONVERSION_ID');
</script>
- I already installed the global site tag on my website when I created another conversion action in this Google Ads account: If this option applies to you, you don’t need to add the global site tag again to your website. Just make sure that the global site tag appears on every page of your site and confirm that the config command in each instance of the tag contains your account’s conversion ID. You’ll see your conversion ID when you select this option.
2.(Optional) Modify the global site tag based on your preferences:
- If you don’t want the global site tag to set first-party cookies on your site’s domain, add the highlighted portion below to your global site tag’s 'config' command:gtag('config',' AW-CONVERSION_ID',{'conversion_linker': false});
- If you don’t want the global site tag to add website visitors to your remarketing lists on initial page load, add the highlighted portion below to your global site tag’s 'config' command:gtag('config',' AW-CONVERSION_ID',{'send_page_view': false});
Note
We don’t recommend doing this as it will lead to less accurate conversion measurement.
- If you want to disable the collection of remarketing data, add the highlighted gtag('set') command to your global site tag above the gtag('js') command. This will disable the collection of remarketing data for all configured Google Ads accounts.
<script async
src='https://www.googletagmanager.com/gtag/js?id=AW-CONVERSION_ID'></script>
<script>
window.dataLayer = window.dataLayer || [];
function gtag(){dataLayer.push(arguments);}
gtag('set', 'allow_ad_personalization_signals', false);
gtag('js', new Date());
gtag('config', 'AW-CONVERSION_ID');
</script>
3.Copy the global site tag, then follow the instructions to add it to your website.
4.Next to 'Event snippet', select whether to track conversions on a page load or click.
- Page load: Count conversions when customers visit the conversion page, such as a confirmation page for a purchase or sign-up. This is the default and most common option. Learn more about Google's security standards.
- Click: Count conversions when customers click a button or link (such as a 'Buy Now' button).
5.Copy the event snippet, then follow the instructions to add it to your website, or click Download snippet to add it later.
- If you're tracking conversions by page load, add the event snippet to the page that you're tracking.
- If you’re tracking conversions by click, add the event snippet to the page that has the button or link that you’d like to track for clicks.
6.Click Next
7.Click Done
8.If you’re tracking clicks on your website as conversions, follow these instructions to add an additional piece of code to the button or link that you’d like to track. This step is required for conversion tracking to work.
Option 2: Use Google Tag Manager
Google Tag Manager is a tag management system that allows you to quickly and easily update tags and code snippets on your website. You can use Google Tag Manager to install your conversion tracking tag.
- Copy the Conversion ID and Conversion label (shown in this tab) for your conversion action.
- Follow the instructions to set up Google Ads conversion tracking in Google Tag Manager. Important: To ensure proper tracking in all browsers, make sure you add a Conversion Linker tag and configure it to fire on all of your web pages.
- Click Next.
- Click Done.
- If you’re tracking clicks on your website as conversions, you’ll need to complete additional setup steps in Google Tag Manager. This is required for conversion tracking to work. Choose one of the 2 options below:
- Basic: Set up a click trigger so that the conversion tracking tag fires when the relevant click occurs.
- Advanced: Add a function call to the code for the link, button or button image. Then, set up a custom event trigger so that the conversion tracking tag fires when the event (in this case, a click) occurs.
Tip: Install the conversion tracking tag with Google Tag Manager
Instead of manually adding the conversion tracking tag to your website code, you can use Google Tag Manager to install the tag. You’ll need to provide the following information:
- Conversion ID
- Conversion label
You’ll find this information in the event snippet for your conversion action. In the sample snippet below, AW-CONVERSION_ID stands for the conversion ID unique to your account, while AW-CONVERSION_LABELstands for the conversion label, which is unique per conversion action.
<!-- Event snippet for Example conversion page --> <script> gtag('event', 'conversion', {'send_to': 'AW-CONVERSION_ID/AW-CONVERSION_LABEL', 'value': 1.0, 'currency': 'USD' }); </script>
Informing your site visitors about data collection
As always, please ensure that you're providing users with clear and comprehensive information about the data you collect on your websites, and getting consent for that collection where legally required.
Security and privacy for website tracking
Google's security standards are strict. Only pages containing the Google conversion tag are tracked through this programme. We use data encryption and secure servers.
Please ensure that you're providing users with clear and comprehensive information about the data you collect on your websites, and getting consent for that collection where legally required.
Need help? Contact us through:
Phone: +442088344795
Email: help@whitehat-seo.co.uk