HubSpot Onboarding: How to Get Started with HubSpot?
- Home
- HubSpot Onboarding: How to Get Started with HubSpot?
You just set up your HubSpot account but you don't know how to use it yet. Don't worry! Read this useful guide to get familiar with the HubSpot marketing platform.
Once you’ve created your HubSpot account, learning how to use the software might be a daunting task. Although it takes a little practice to acquire confidence, you can follow this useful onboarding guide in order to make the most out of it. Or, if you need more help with your HubSpot onboarding, you can get it here.
You can download the full guide here as a PDF for you to save or print.
1. Allow HubSpot to Gather Analytics
If any of your pages are not hosted on the HubSpot CMS platform, you need to insert HubSpot’s tracking code into the HTML of each page. This way you can collect analytics like website visits or keyword rankings.

2. Include Your Team
Do not forget to add the members of your team to your account, by assigning permissions according to their roles in the company.

3. Connect to Social and Other Apps
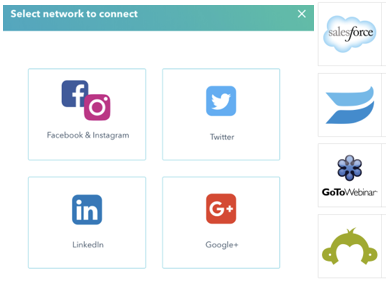
Make your social media activity easier to follow by connecting all your accounts through HubSpot’s “Social” tab. This tactic allows you to eliminate the burden of having to log into every single social network your company uses to monitor posts and interactions. Moreover, you might consider integrating with other apps such as SurveyMonkey, Salesforce, WordPress, etc…

4. Leave Out Internal Visits
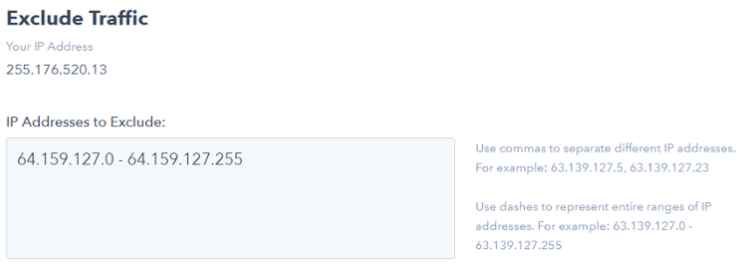
Make sure that that your own visits to your website are not included in the final reports. By rendering your activity invisible, your data will be more reliable. You can do this by excluding your company’s IP addresses.

5. Import Your Contacts
Transfer your leads’ data (name, e-mail address, company, etc…) into HubSpot. Records might come from another platform (like Salesforce) or from an Excel spreadsheet. In the latter case, make sure that each column’s title matches HubSpot’s field names and that the file is in a CVS format.

6. Integrate Your CRM
HubSpot has its own Customer Relationship Management, but if you are using a different one you should link them so that they are in sync.

7. Standardise the Naming System
The last thing you want to do is waste your time searching for a particular file or folder. Therefore, you should name your files systematically so that they are well-organised and easy to find.

8. Create Buyer Personas and Workflows
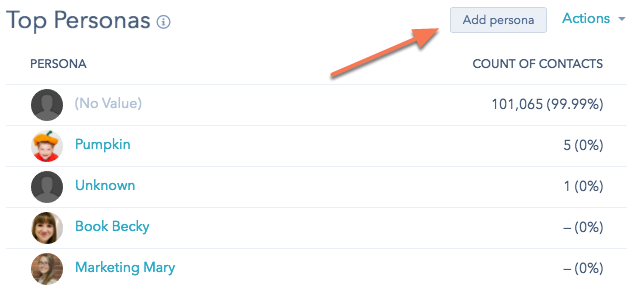
You need to divide your customers into categories according to their characteristics. This is done by creating buyer personas (or “semi-fictional representations of your ideal customer based on market research and real data about your existing customers”) and workflows, which ways of nurturing your personas through their buyer journey.

9. Define Your Company’s Features
To make the most out of HubSpot, connect all your domains to it (website, blog, landing pages, e-mail, knowledge base, etc…). In particular, e-mail sending domains must be legitimate in the sense that recipients can clearly see where the e-mails are coming from. Moreover, templates must be consistent and display the sender information at the bottom (including a physical mailing address). Lastly, create a company logo to use across all your tools.

10. Create a Blog, Landing Pages and Forms
Set up a blog on HubSpot by naming it and enabling blog subscription e-mails. The latter will keep subscribers updated whenever new blog posts are published. In addition, you should optimise your landing page templates to maximise conversion. Landing pages are designed to provide readers with specific content and collect their information. Keep them neat and engaging, without any distraction.

The last step is to use HubSpot’s forms to keep track of contacts whenever they download your content. Make sure that they adapt to the size of the user’s screen. The more content you provide, the more information you should ask for (forms can be top, middle or bottom of funnel). You might want to add custom fields beside the default ones, according to your needs. Smart fields can also be used to gather even more data. Finally, decide who is going to be notified by e-mail whenever a lead completes a form.

12. Determine Lead Scoring, Marketing and Sales Qualified Leads
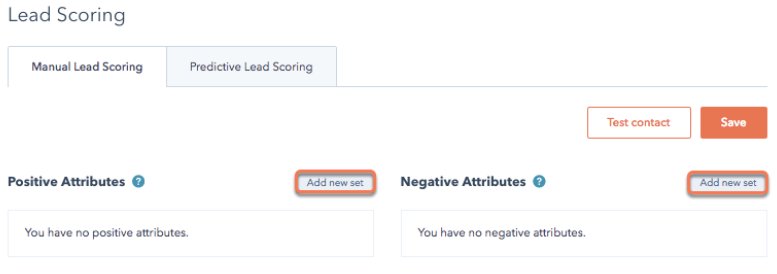
As contacts progress through the buyer’s journey (prospect → lead → MQL → SQL), their lead scoring increases. In order to decide what stage of the buyer funnel your contact belongs to, you have to determine what features qualify the latter as a Marketing or Sales qualified lead to assign them to workflows. At this point, you will be notified by HubSpot that the lead is ready to be sold to.

As long as you follow these simple steps, getting familiar with HubSpot is going to be a piece of cake!
You can download the full guide here as a PDF for you to save or print.
